Making candles at home is a rewarding and creative activity that allows you to personalize scents, colors, and styles to match your preferences. Whether you’re making candles for personal use, gifting, or even starting a small business, this guide will help you create high-quality candles while following best practices and safety guidelines.
Materials Needed to Make Candles at Home
To get started, you will need the following materials:
- Wax (soy wax, beeswax, or paraffin wax)
- Wicks (pre-tabbed wicks recommended for ease of use)
- Containers or Molds (glass jars, metal tins, or silicone molds)
- Fragrance Oils or Essential Oils (ensure they are suitable for candle-making)
- Dyes or Colorants (optional, use candle-safe colorants)
- Double Boiler or Wax Melter
- Thermometer (to monitor wax temperature)
- Stirring Utensil (wooden or silicone stick)
- Wick Holders or Wick Centering Devices
Step-by-Step Instructions
Step 1: Prepare Your Workspace
Ensure your workspace is clean, organized, and free of flammable materials. Lay down a protective covering, such as parchment paper or newspaper, to catch any wax drips.
Step 2: Measure and Melt the Wax
Use a kitchen scale to measure the required amount of wax for your container. Melt the wax using a double boiler method by placing the wax in a heat-resistant bowl over a pot of simmering water. Stir occasionally to ensure even melting. Monitor the temperature with a thermometer and follow the wax manufacturer’s guidelines for optimal melting temperature (typically 120-180°F).
Step 3: Prepare the Wick
While the wax is melting, place the wick at the center of your container or mold. Secure it in place using a wick holder or by adhering the wick tab with a small amount of melted wax or wick stickers.
Step 4: Add Fragrance and Color
Once the wax reaches the appropriate temperature (typically 150-185°F for soy wax), add fragrance oil or essential oil if desired. A general guideline is to use 6-10% fragrance oil or a few drops of essential oil per candle. Stir gently for at least two minutes to ensure even distribution. If using dye, add it at this stage and mix well.
Step 5: Pour the Wax
Allow the wax to cool slightly (about 135-150°F) before pouring it into the container to reduce the risk of sinkholes or cracks. Pour slowly and steadily to avoid air bubbles.
Step 6: Let the Candle Set
Allow the candle to cool and harden completely at room temperature. This may take 24 hours, depending on the wax type and container size.
Step 7: Trim the Wick
Once the candle is fully set, trim the wick to approximately 1/4 inch. This helps ensure a clean and controlled burn.
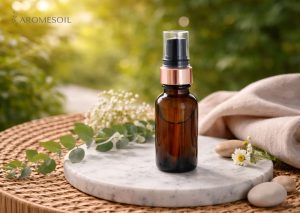
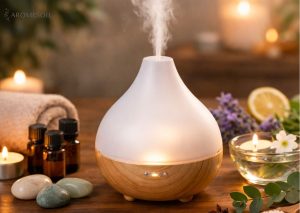
Using Essential Oils in Candles
Essential oils can add a natural and pleasant aroma to your homemade candles. When choosing essential oils, consider:
- Heat Stability: Some essential oils have lower flashpoints and may not retain their scent well in high temperatures.
- Blending: Combining different essential oils can create unique fragrance profiles.
- Usage: Start with a small amount and adjust based on the desired strength.
Always use essential oils designed for candle-making to ensure safety and optimal performance.
Safety Tips
- Never leave melting wax unattended.
- Use heat-resistant containers and surfaces.
- Avoid using essential oils that are not designed for candle-making.
- Store candles in a cool, dry place.
- Keep burning candles away from drafts, children, and pets.
Conclusion
Creating homemade candles is a fun and fulfilling craft that allows for creativity while maintaining safety standards. By following these steps and adhering to best practices, you can produce beautifully crafted candles perfect for personal enjoyment or as thoughtful gifts. Always ensure that your ingredients and methods comply with applicable safety regulations to achieve the best results.